Starting Seeds Indoors: A Step-by-Step Guide for Home Gardeners

Why Start Seeds Indoors Instead of Buying Transplants?
Ever walked through a garden center in spring, stared at those flimsy seedlings in plastic trays, and wondered if there's a better way? There is—and it starts about six to eight weeks before your last frost date, right on your windowsill or kitchen table. Starting seeds indoors gives you access to hundreds of varieties your local nursery will never stock. You control the growing conditions from day one, avoid the shock of transplanting stressed greenhouse plants, and cut your garden budget by half (or more).
The upfront investment is minimal—a few seed trays, some quality potting mix, and a sunny window or inexpensive grow light. The payoff? Robust plants that hit the ground running when warm weather arrives. Plus, there's something deeply satisfying about nurturing a plant from a speck of dust to a productive tomato vine or flowering perennial. In this guide, I'll walk you through exactly how to start seeds indoors—what to buy, when to plant, and how to keep those seedlings alive until it's time to move them outside.
What Do You Need to Start Seeds Indoors?
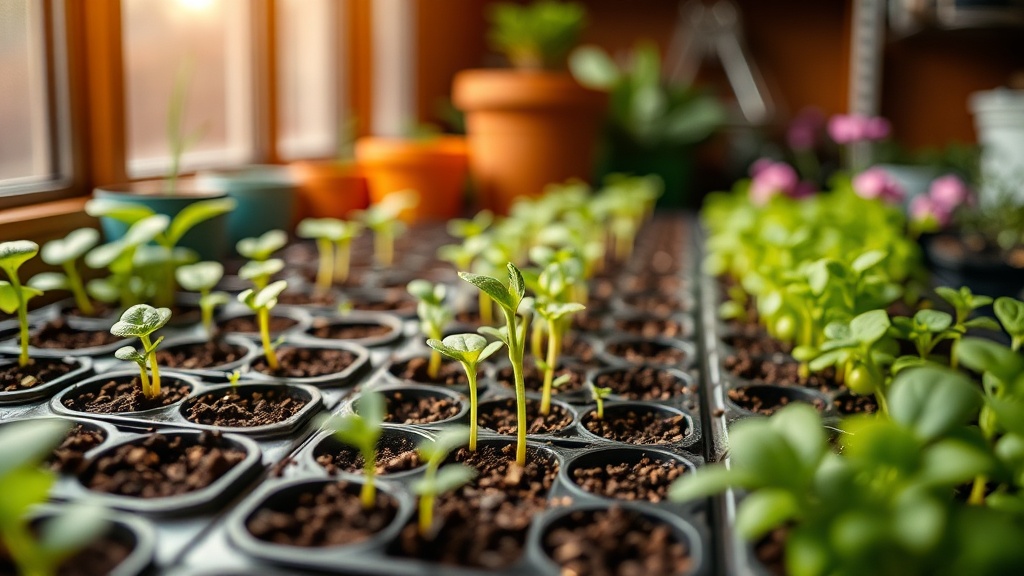
You don't need a greenhouse or fancy equipment—just a few basics that actually matter. Start with containers. Seed-starting trays with individual cells work well, but so do recycled yogurt cups, egg cartons, or even folded newspaper pots (just punch drainage holes). The key is depth—most seedlings need at least two to three inches of soil to develop proper root systems. Avoid anything smaller than a standard 3-inch pot for plants you'll keep indoors longer than four weeks.
Next: the growing medium. Regular garden soil is too heavy and often harbors diseases that will kill delicate seedlings. Invest in a quality seed-starting mix—it's lighter, drains better, and is sterile to prevent damping-off disease (the sudden wilting and death of young seedlings). Brands like Miracle-Gro and Espoma offer reliable options, or check your local independent garden center for regional blends.
Light is where most beginners stumble. A sunny south-facing window can work, but winter and early spring sun is weak and angled. Seedlings grown on windowsills tend to stretch and become leggy as they reach for light. A simple shop light with T5 or LED bulbs positioned two to four inches above your seedlings makes a world of difference. Keep the lights on for 14 to 16 hours daily—an inexpensive timer handles this automatically.
When Should You Start Your Seeds?
Timing matters. Start too early, and you'll have root-bound, stressed plants taking over your house. Start too late, and you might as well buy transplants from the garden center. Each seed packet lists "days to germination" and timing relative to your last frost date. Tomatoes and peppers typically want an eight-week head start. Brassicas—broccoli, cabbage, cauliflower—do fine with six. Fast growers like squash and cucumbers only need three to four weeks indoors; many gardeners direct-seed these instead.
Find your average last frost date using the National Gardening Association's frost date calculator—just enter your ZIP code. Count backward from that date based on each crop's needs. Mark your calendar, but keep flexibility in mind. Spring weather has been unpredictable lately, and a late cold snap can delay transplanting by weeks. Having a few larger pots on hand lets you pot up seedlings that outgrow their cells before the weather cooperates.
How Do You Plant Seeds for the Best Germination?
Pre-moisten your seed-starting mix before filling containers—it should feel like a wrung-out sponge, not soggy. Pack it gently into cells or pots, but don't compress it heavily; roots need air spaces to penetrate. Plant seeds at the depth specified on the packet—a good rule of thumb is twice the seed's width. Tiny seeds like lettuce or snapdragons barely need covering; press them into the surface and dust with a thin layer of mix.
Label everything. Trust me—those tomato seedlings all look identical until they fruit, and you don't want to guess whether you're planting cherry or paste tomatoes. Use wooden popsicle sticks, plastic plant markers, or even masking tape on containers. Record the variety name and planting date.
Cover your trays with clear plastic domes or even plastic wrap to create a humid greenhouse environment. This prevents the soil surface from drying out during germination. Place trays in a warm spot—many seeds germinate faster with bottom heat. A heat mat designed for seed starting provides consistent warmth, but the top of a refrigerator or near a heating vent works in a pinch. Check daily and remove the cover as soon as you see green sprouts emerging.
What Care Do Seedlings Need After Germination?
Those first leaves—cotyledons—aren't true leaves. They're food storage packets that fuel initial growth. When the second set of leaves appears (the true leaves), your seedlings are ready for more light and eventually, their first taste of fertilizer.
Water from below whenever possible. Set trays in shallow water and let pots absorb moisture through drainage holes. This encourages deep root growth and prevents fungal issues on the soil surface. If you must water from above, use a gentle mist or a watering can with a fine rose attachment. Let the soil dry slightly between waterings—constantly soggy soil rots roots.
After seedlings develop two to three sets of true leaves, begin feeding with a diluted liquid fertilizer—half strength of what the label recommends. Fish emulsion or seaweed extract works well and is gentle on young plants. Increase light intensity gradually if you haven't been using grow lights; seedlings need bright light to develop stocky stems and deep green color.
How Do You Harden Off Seedlings Before Planting Outside?
Indoor seedlings are pampered—protected from wind, intense sun, and temperature swings. Moving them directly outside shocks their systems and can kill them. The solution is hardening off: a gradual introduction to outdoor conditions over seven to ten days.
Start by placing seedlings in a sheltered, shaded spot for one to two hours. Increase time outdoors and sun exposure incrementally each day. Protect from strong winds and bring trays inside if temperatures drop below 50°F for tender crops like tomatoes and peppers. By the final few days, your plants should tolerate full sun and overnight temperatures appropriate for your crops. Water well before transplanting, and choose an overcast day or late afternoon to minimize transplant shock.
Starting seeds indoors connects you to your garden in a way that buying plants never will. You'll learn which varieties thrive in your specific conditions, save money, and experience the quiet joy of watching life unfold from a tiny seed. This season, give it a try—even if you only start a few tomato plants on your kitchen counter.